

Wooden Christmas crafts last longer than almost any other holiday project. A painted star or a stack of block houses can come out of the box for twenty years, and each year it looks a little more like part of the family. The question is where to begin, since a saw and a pile of scrap wood can feel like a lot.
This guide to wooden Christmas crafts gives you 12 projects, a table showing the wood and tools each one needs, finishing and safety tips and ideas for displaying your work. Sizes appear in inches with the metric size beside them. If you want ideas for the room around them, see our holiday home decor guide.
What Are the Easiest Wooden Christmas Crafts to Make?
Wood slice ornaments, block houses and stacked block trees are the easiest, since they need only a simple saw, glue and paint. If you have never cut wood, begin with a pre-cut slice.
A Ray of Sunlight, a US blog, lists ornaments, signs, candle holders and wreaths as easy wooden ideas, and suggests pine or birch with sandpaper, acrylic paint and a hot glue gun. Saws on Skates, a woodworking blog that appears to be US-based, rounds up more than 30 projects from nutcrackers to advent calendars. Kaltimber, a timber company in Indonesia, shows that even branches and twigs can become ornaments and stars. None of them rate skill levels, so the levels in the table below are ours.
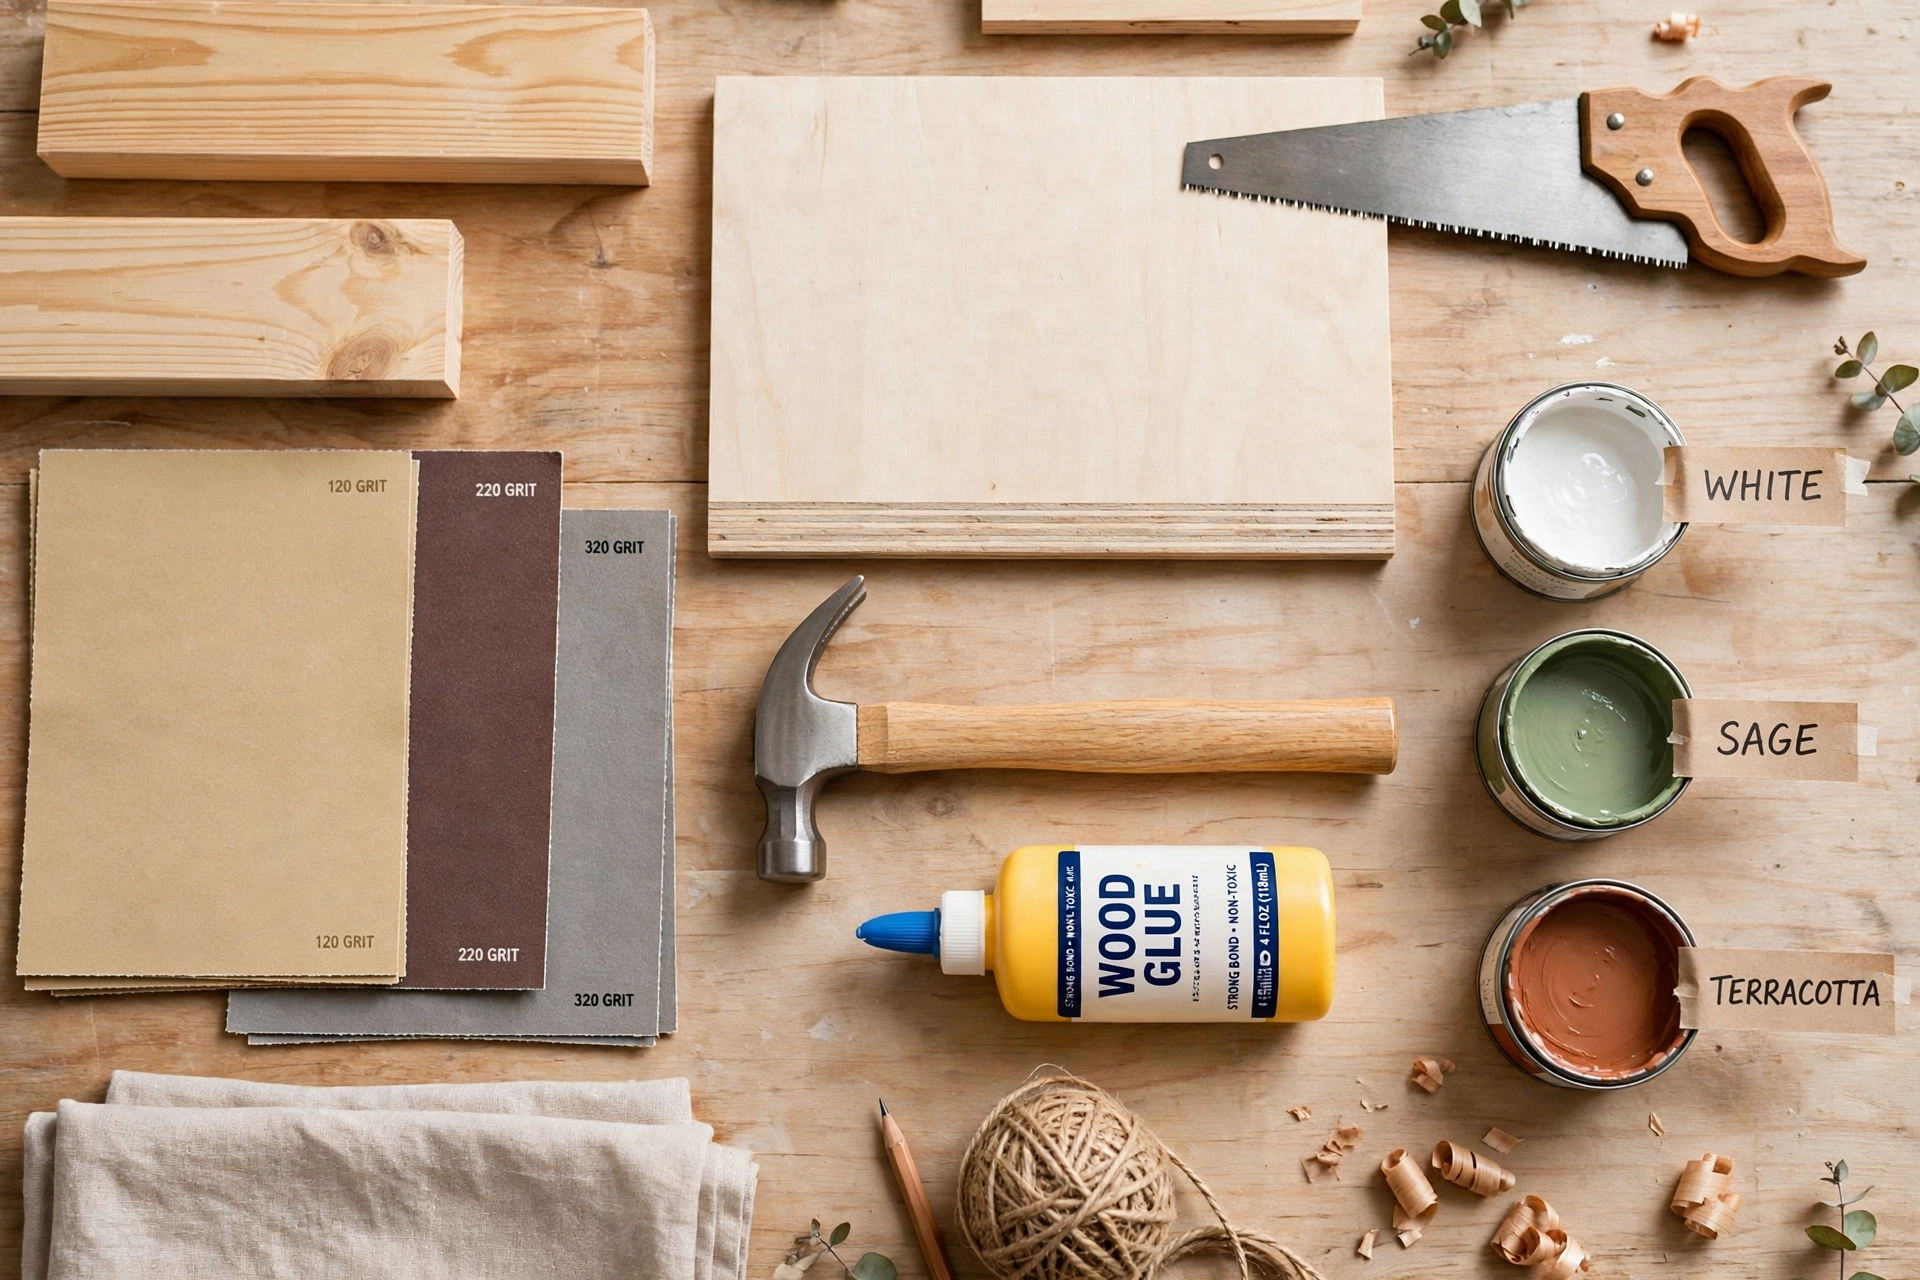
What Wood and Tools Does Each Project Need?
Pine and birch suit most projects, and a saw, sandpaper and glue are the only tools you need for the simplest ones. If a project calls for a curve, add a jigsaw or scroll saw.
| Project | Wood and size | Tools | Skill level |
|---|---|---|---|
| Wood slice ornament | Branch slice or craft slice, 3 in (7.6 cm) wide | Drill, sandpaper | Beginner |
| Wooden star | Thin board, 4 to 6 in (10 to 15 cm) across | Scroll saw or jigsaw | Intermediate |
| Block village house | Scrap 4×4 post, cut 4 to 6 in (10 to 15 cm) tall | Miter saw or hand saw | Beginner |
| Stacked wood block tree | Scrap lumber, 12 to 24 in (30 to 61 cm) tall | Saw, wood glue | Beginner |
| Nutcracker | 1×4 body cut to about 12 in (30 cm), 4 in (10 cm) feet | Saw, drill, glue | Intermediate |
| Candle holder | Log or 4×4 block, 3 to 6 in (8 to 15 cm) tall | Drill bit for the hole | Intermediate |
| Planked wreath | Round board or plywood circle, 14 to 18 in (36 to 46 cm) | Jigsaw, paint | Intermediate |
| Wooden snowflake | 1×2 boards in equal lengths, 30 degree cuts | Miter saw | Intermediate |
The nutcracker and snowflake dimensions come from Saws on Skates, which cuts a 1×4 body to about 12 inches (30 cm) with 4 inch (10 cm) feet, and uses 30 degree cuts on a 1×2 snowflake. Every other size and every skill level is our own planning suggestion. Change them to fit your wood and your shelf.
Which Wooden Christmas Crafts Can You Copy?
Pick one project that matches your tools, then add a second in a different size so your display has some variety. If you want a gift, make three of the same ornament.
1. Wood slice ornaments
Saws on Skates uses slices from downed limbs and finishes them with decoupage glue. Drill a hole at the top. Add twine to hang.
2. Painted wooden stars
A Ray of Sunlight suggests stars cut from thin boards and hung with string or ribbon. Paint them white or gold. Cut a few sizes for a group.
3. Block village houses
Cut scrap 4×4 posts to different heights. Paint a door and a roof on each. Line them up along a shelf, with a string of lights behind.
4. Stacked block tree
Stack scrap blocks in a stepped shape and glue them. Paint them green or leave them natural. Keep the base wide so it cannot tip.
5. Wooden nutcracker
Cut the body from a 1×4 to about 12 inches (30 cm), as Saws on Skates does. Center the 4 inch (10 cm) feet so it stands. Paint the face last.
6. Log candle holders
A Ray of Sunlight describes logs or branches cut to different heights and hollowed at the top. Use a flameless LED tea light, because a real candle is a fire hazard. Wrap twine around the base.
7. Planked wreath
Cut a circle from plywood or buy a round board. Paint it and add greenery. Hang it from a screw eye on the back.
8. Wooden snowflakes
Cut equal lengths of 1×2 and join them at the center. Use parallel 30 degree cuts on the shorter pieces, as described by Saws on Skates. Paint the snowflake white.
9. Branch ornaments
Kaltimber suggests branches as ornaments, with no tools needed. Gather them from your yard. Tie them with twine or wire.
10. Twig stars
Kaltimber shows stars made from twigs, joined into a natural tinsel. Glue five twigs into a star. Link several along a string.
11. Holiday signs
A Ray of Sunlight lists wooden signs made with stencils or freehand paint for a mantel or wall. Choose a short word. Paint the letters in two coats.
12. Wooden gift tags
Saws on Skates includes gift tags cut from thin plywood or hardboard. Cut them in a 3 inch (7.6 cm) square. Paint a name on each one.
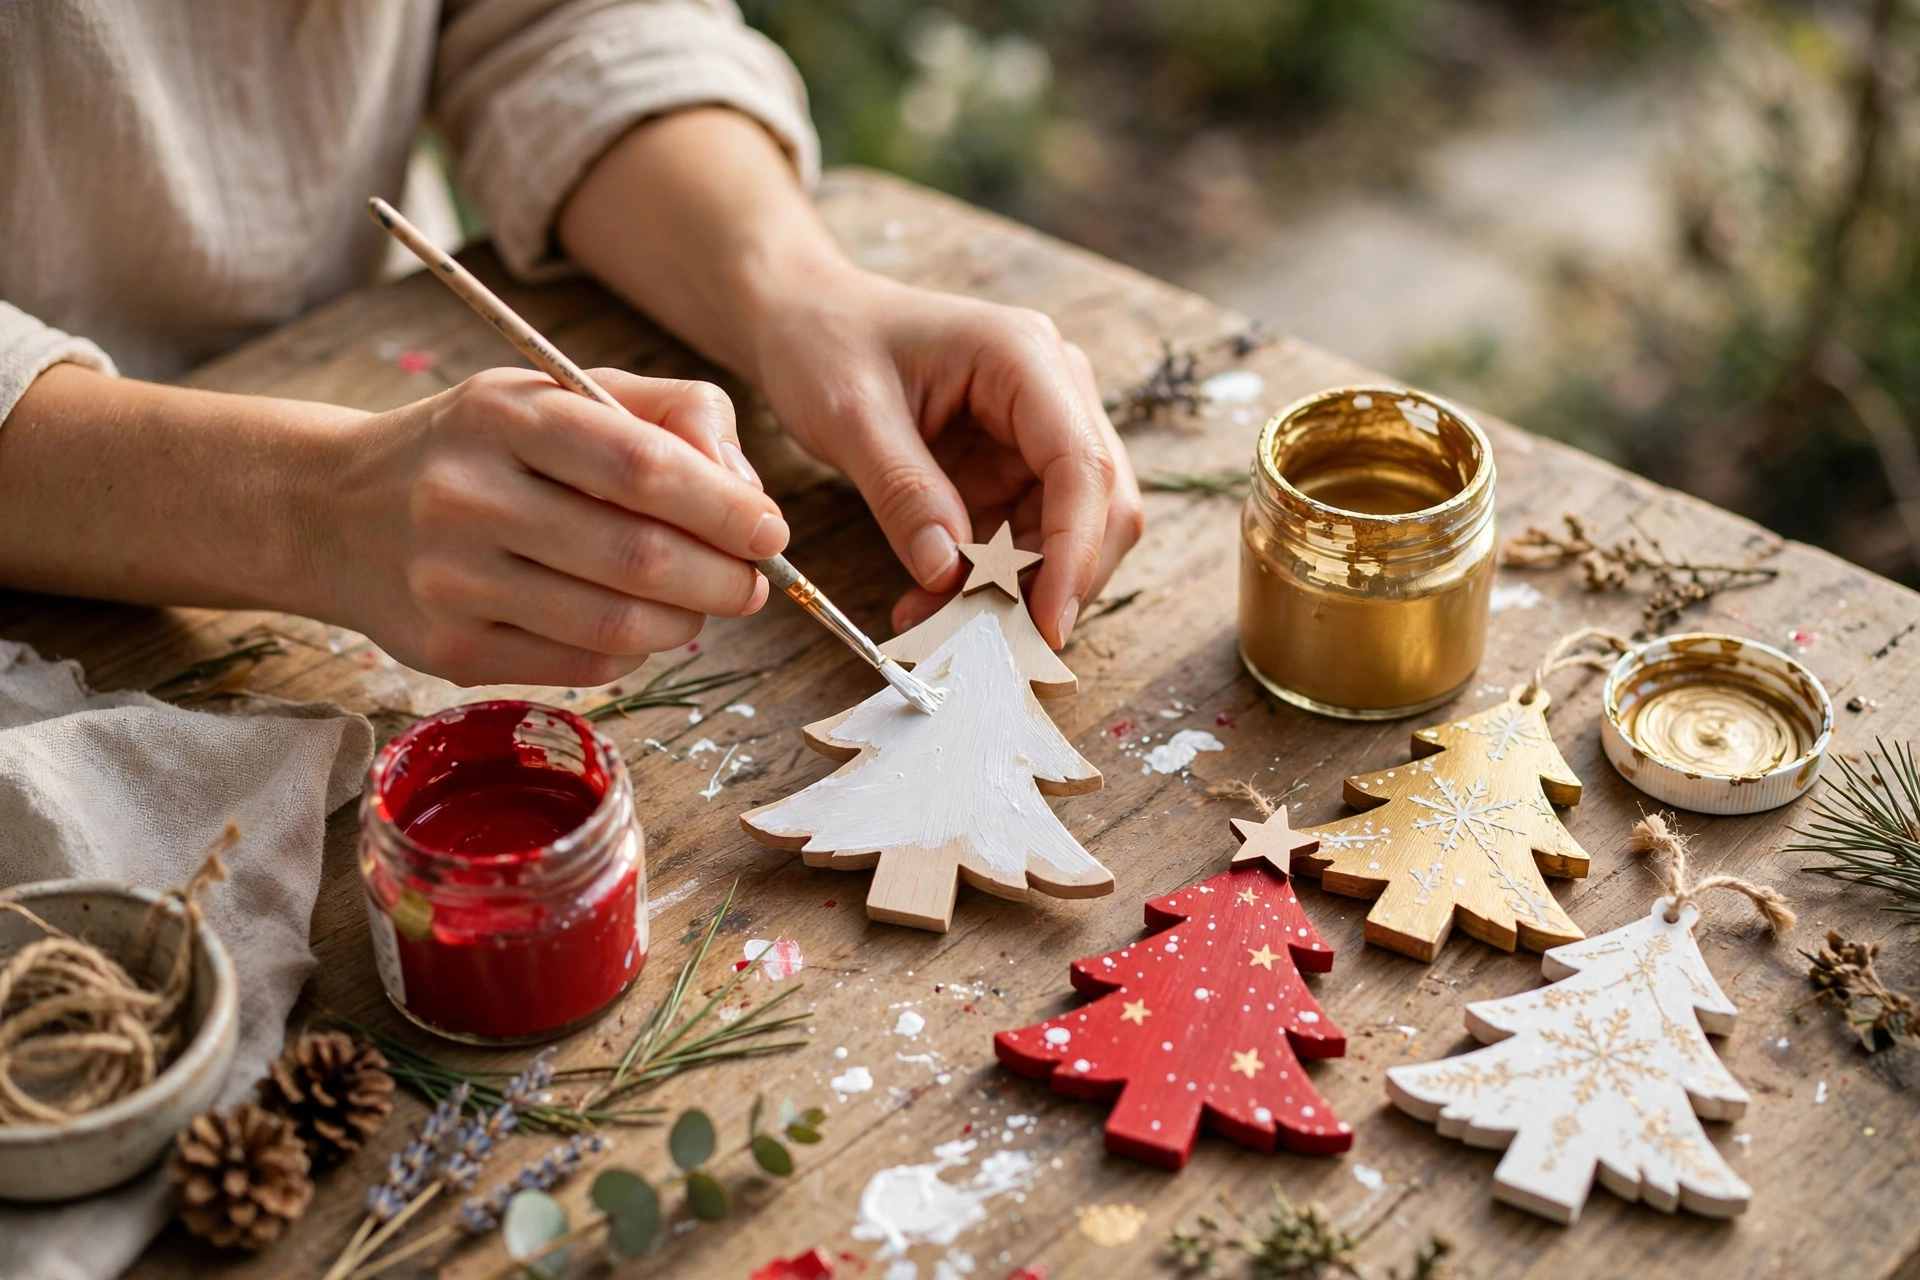
How Do You Finish Wooden Christmas Crafts?
Sand every piece smooth, wipe off the dust, then paint or stain it and seal what needs protection. If a piece will touch food, use a food-safe sealer.
A Ray of Sunlight recommends sanding in progressively finer grits and painting in festive colors or with stencils. Saws on Skates uses craft paint and stain on most projects, decoupage glue for slice ornaments and a food-safe sealer on serving boards. Put on two thin coats of paint, which cover better than one thick coat and dry faster. Sand lightly between coats with a fine grit paper to remove any raised grain, then wipe the dust away with a dry cloth before you add the next layer. If you use stain, apply it before any paint. Let the stain dry overnight, because damp wood takes paint badly and the finish can turn blotchy.
How Do You Hang and Store Wooden Christmas Crafts?
Drill a small hole for a loop of twine, and store each piece wrapped in tissue in a dry box. If a piece is painted, let it cure for a full day before you wrap it.
A hole of about 1/8 inch (3 mm) fits twine or thin wire, which is our own suggestion. Tie a knot larger than the hole so the loop cannot slip through. For heavy pieces such as the nutcracker, use a stand, not a hook. When the season ends, wrap each craft separately, because painted wood can stick to its neighbors and peel when you pull them apart.
Keep the box off a damp floor, since moisture can warp wood and lift paint. Write the contents on the lid, and slip a small bag of silica gel inside if your storage space is humid. Check the box once a year for pests.
How Do You Choose Colors for Wooden Christmas Crafts?
Pick two paint colors plus natural wood, and repeat them across every piece. If you are unsure, use white, red and the bare grain.
Natural wood looks warm on its own, so leave some pieces unpainted and let the grain show. Paint the rest in a short palette so the group looks planned. Our tree color schemes guide has palettes that suit painted wood. Matte paint gives a handmade look, and a light coat of clear sealer adds a soft shine.
How Do You Stay Safe When Making Wooden Christmas Crafts?
Wear safety goggles and gloves, clamp your work and keep real flames away from the finished pieces. If you are not sure about a saw, ask for help.
A Ray of Sunlight advises goggles and gloves when working with tools or chemicals. Saws on Skates says to sand the edges of cut pieces and to use a flameless LED tea light in wooden holders. Kaltimber warns that shaping logs can be tricky without proper sawing equipment. Keep kids away from the saw and let them paint, since painting suits all ages. A drop cloth under the work table saves your floor, and old clothes save theirs. Set a cup of water and a damp rag within reach, so wet paint never ends up on a cut edge or the dog.
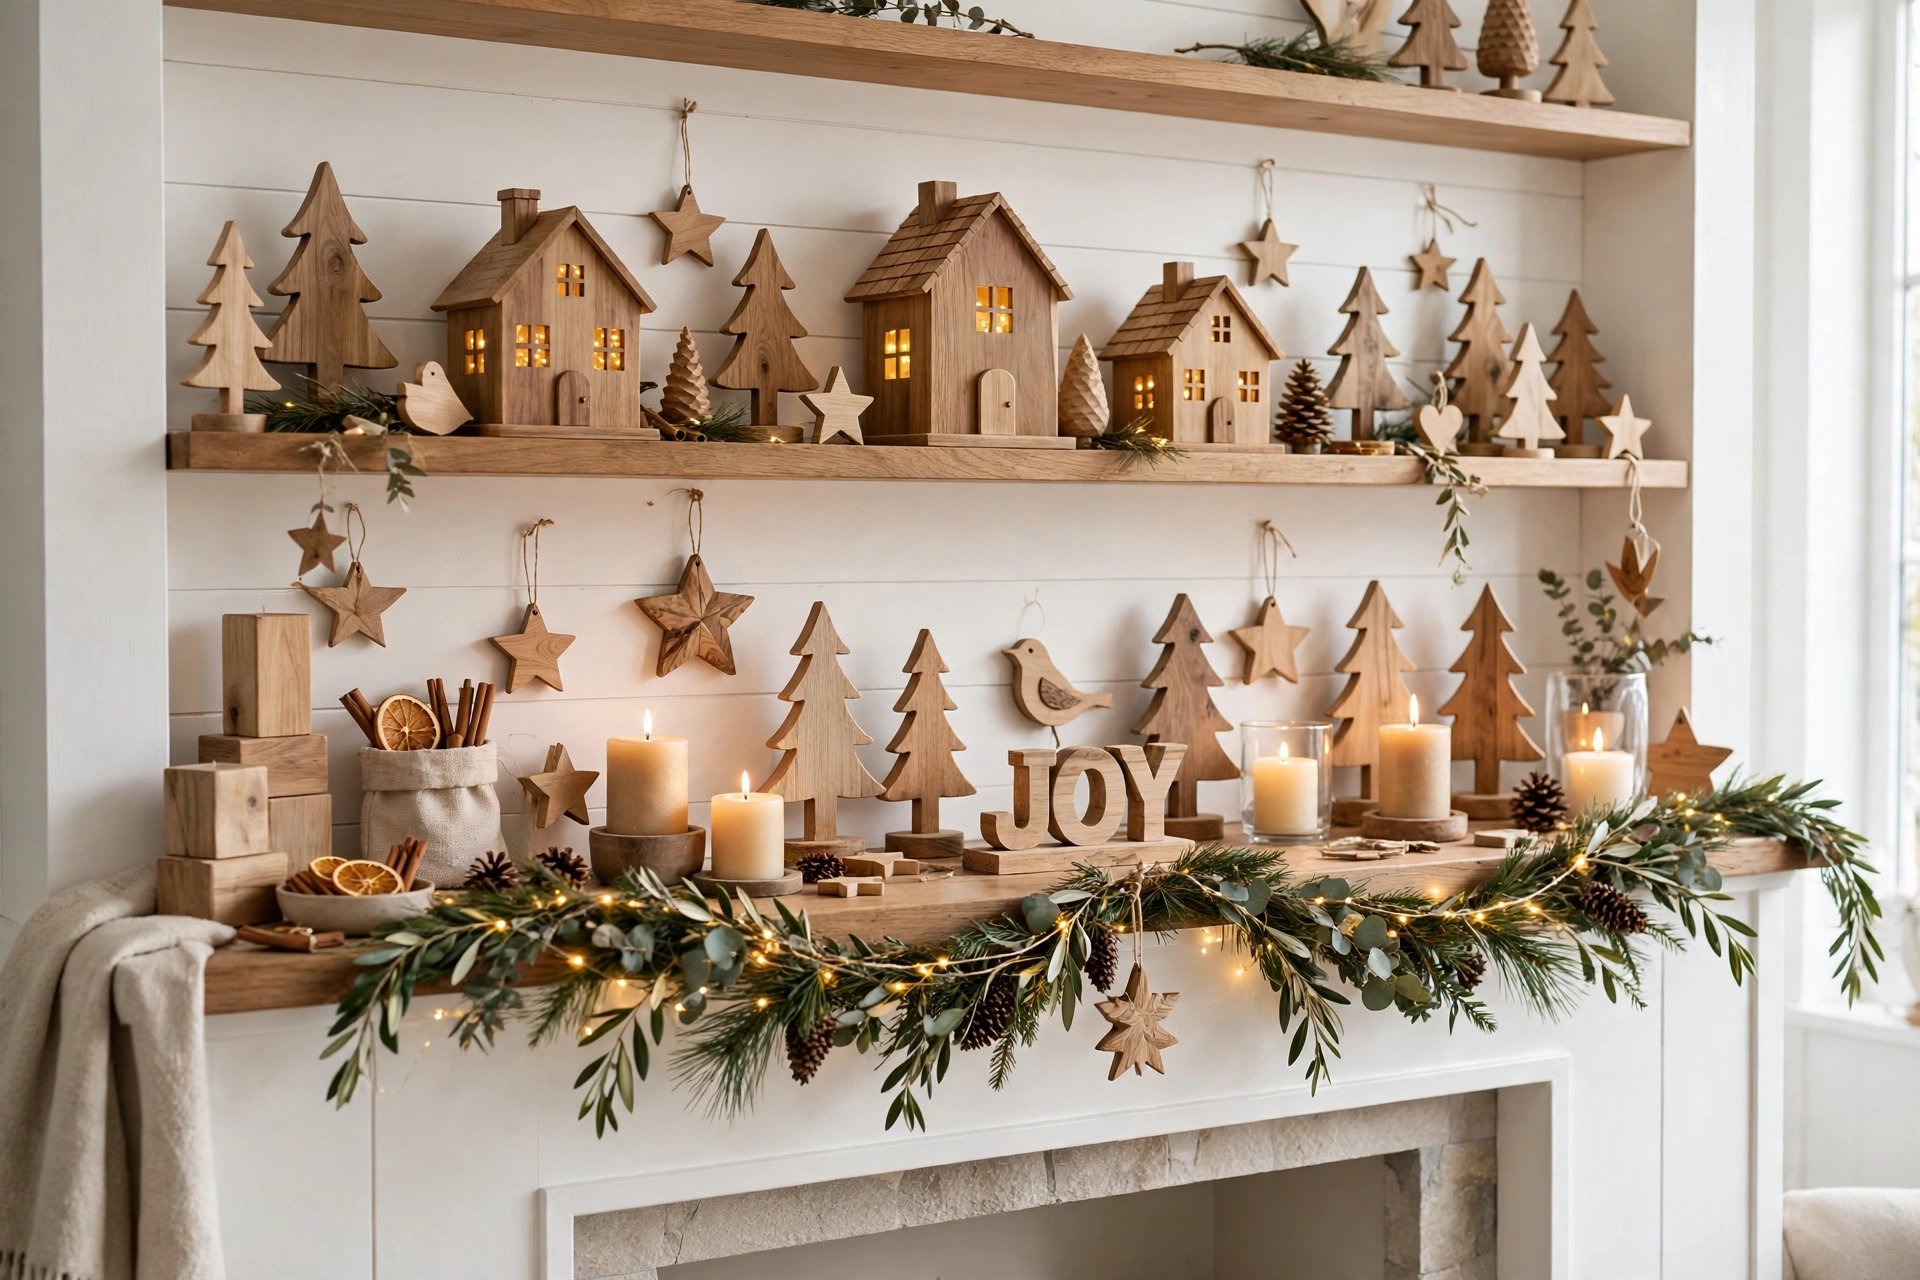
Where Can You Display Wooden Christmas Crafts?
Use them on the mantel, a shelf, the tree and the front door, grouped in threes or fives. If you have a bare corner, a stack of block houses fills it well.
Put stars and slices on the tree, as our Christmas tree guide explains. Line village houses and holders along the shelf. Hang the wreath on the door, or on the wall above the mantel. Add a bowl of pinecones to link the pieces.
Can You Make Wooden Christmas Crafts on a Budget?
Yes, scrap wood, fallen branches and old furniture legs cost little or nothing. If you have to buy, a single 1×4 board makes several ornaments.
- Cut slices from fallen branches.
- Use scrap 4×4 posts for houses and blocks.
- Buy one pack of craft paint for the whole set.
- Ask a woodworking neighbor to cut a few pieces.
- Use twine you already own instead of ribbon.
Set a limit with the home decor budget planner before you shop.
When Should You Start Making Wooden Christmas Crafts?
Start by early November, so paint can dry fully before Thanksgiving on Thursday, November 26, 2026. If you are making gifts, finish them a week before Christmas Day on Friday, December 25.
Count the days left with the how many days until Christmas calculator, and plan one project per weekend.
Conclusion
Wooden Christmas crafts reward a little planning. Start with a simple project such as a wood slice ornament or a block house, pick pine or birch, and sand every piece before you paint. Use a flameless candle in any wooden holder, wear goggles when you saw and seal anything that goes outside. A handful of pieces in threes and fives is enough for a mantel.
FAQs
What wood is best for wooden Christmas crafts?
Pine and birch are easy to cut, sand and paint, which is why crafters favor them. Scrap 4×4 posts, plywood and branches work well for ornaments and decor.
What tools do you need for wooden Christmas crafts?
A saw, sandpaper, wood glue and paint cover most projects. For stars and snowflakes, add a scroll saw or jigsaw. Ornaments and candle holders need a drill.
Are wooden Christmas crafts good for beginners?
Yes. Wood slice ornaments, block houses and stacked trees need only a simple saw and glue. Start with these before you try a scroll saw project.
How do you paint wooden Christmas crafts?
Sand the wood smooth, wipe off the dust and use acrylic or craft paint. Two thin coats look better than one thick coat. Let each coat dry fully before the next.
Is it safe to use real candles with wooden crafts?
No. Use a flameless LED tea light in a wooden holder. A real candle is a fire hazard, and bare wood can ignite.
How do you hang a wooden ornament?
Drill a small hole at the top and thread twine, ribbon or thin wire through it. Tie a knot big enough that it cannot slip through the hole.
Can you use wooden Christmas crafts outdoors?
Yes, if you seal them with an outdoor paint or sealer and keep them off wet ground. Bring painted pieces inside after the season to prevent peeling.
How do you store wooden Christmas crafts?
Wrap each piece in tissue or paper, box them and keep them somewhere dry. Avoid damp basements, since moisture can warp wood and lift paint.