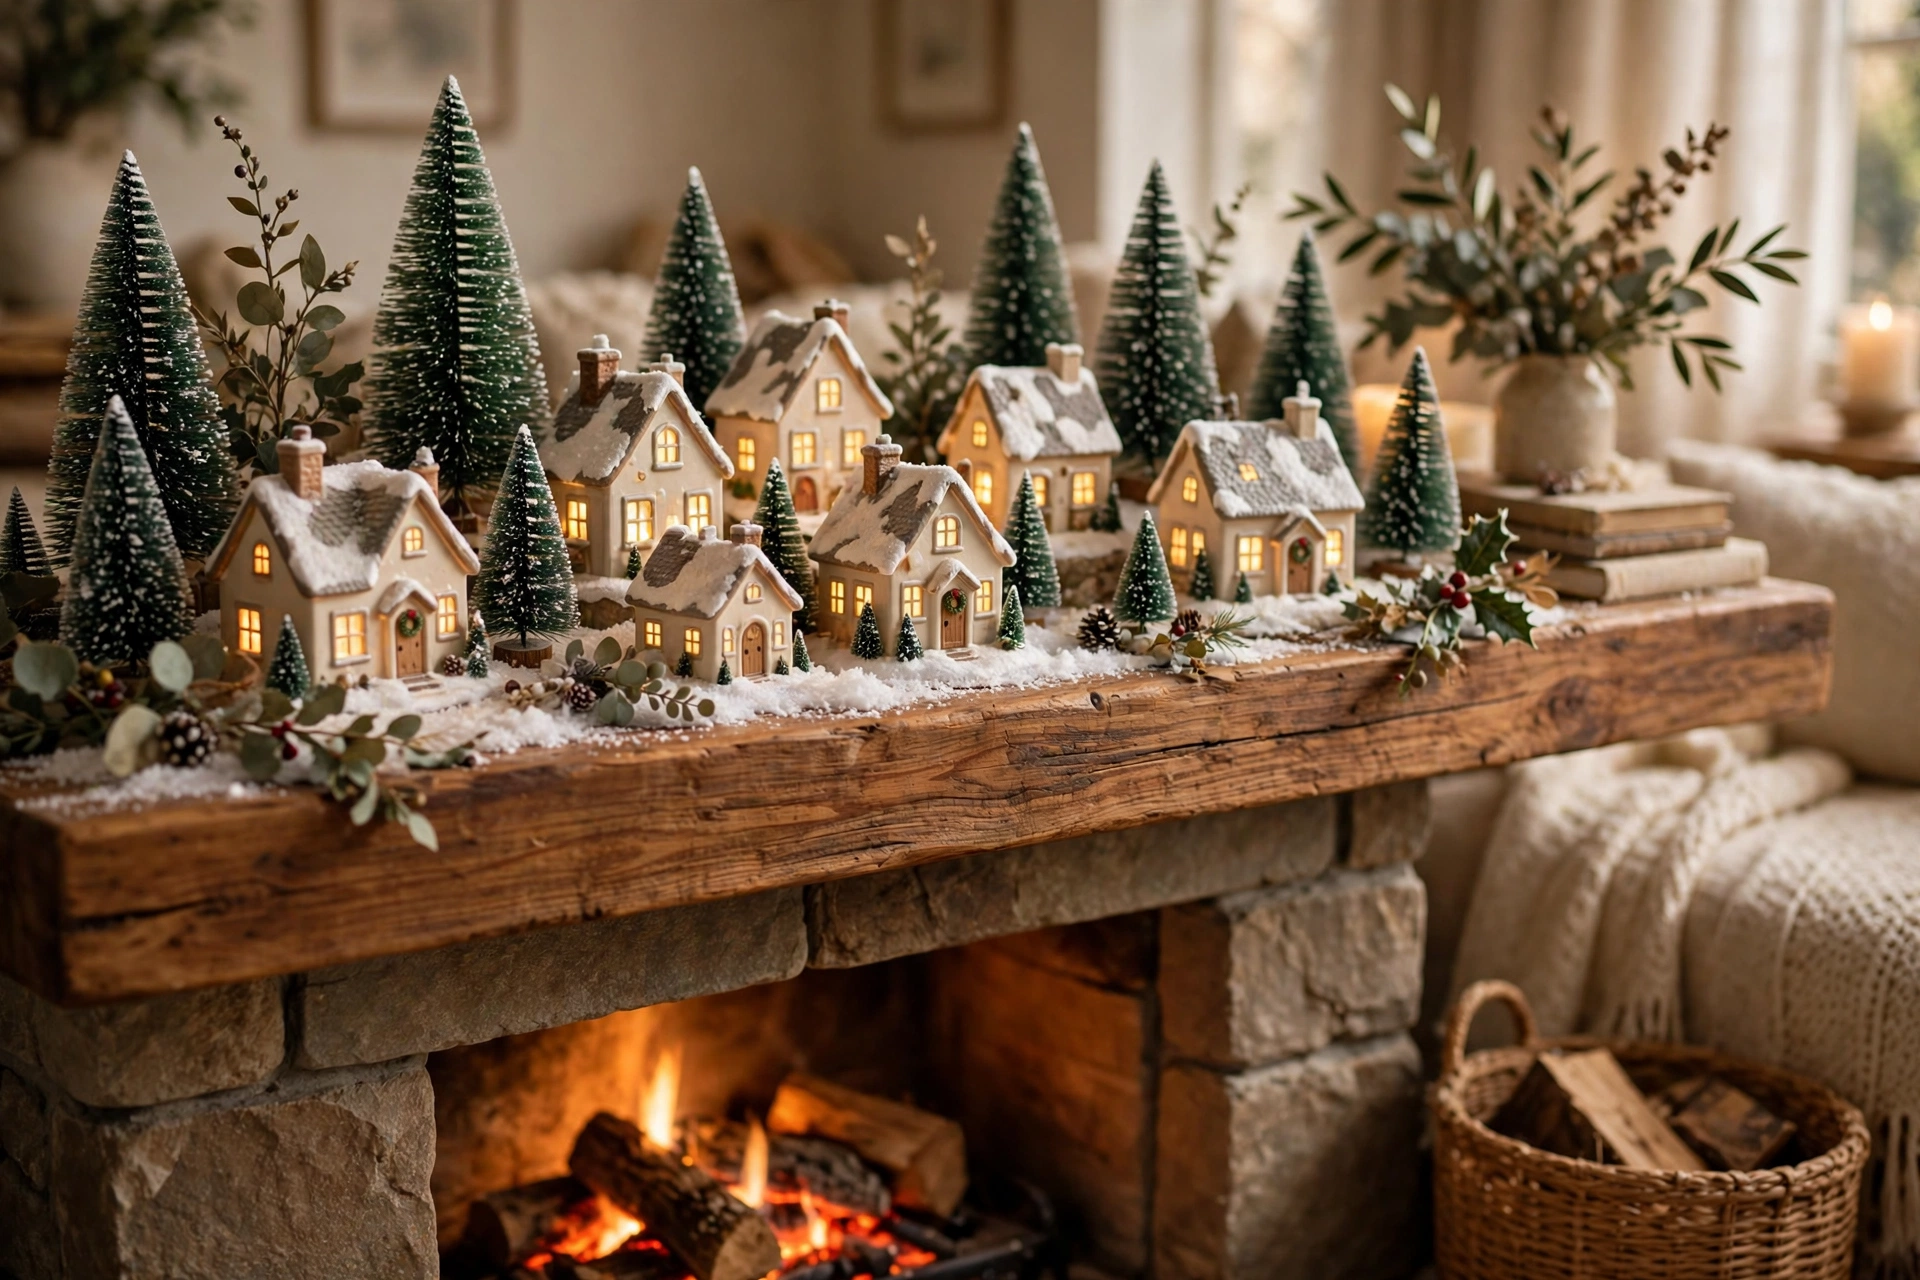
A Christmas village looks best when it tells a small story: a snowy main street, a church at one end, a pond in the middle. Most people just put the houses in a row and wonder why the display looks flat. The layout is what turns a set of ceramic buildings into a town.
This guide to Christmas village layout ideas gives you a size table by space, a step-by-step build, lighting and cord tips, 10 plans to copy and storage advice. Sizes appear in inches with the metric size beside them. For the rest of the room, see our Christmas mantel decor guide.
How Do You Plan a Christmas Village Layout?
Choose the location first, then the theme, then draw the layout on paper before you place a single building. If you skip the plan, you will move every piece at least twice.
Christmas Central, a US retailer, lists a mantel, bookcase, bay window, staircase, piano top, dining table and the space under the tree as locations, and suggests themes from a Victorian town to a snowy alpine village. It says to measure the area, group buildings by type, trace each base on paper and arrange the templates. Webbs Garden Centres, a UK retailer, says to start with a centerpiece and extend sideways or in a circle over time. Homestyler, a design platform based in China, gives the most numbers, so treat those as one source’s advice.
What Size Base Does Each Space Need?
A mantel needs a base 18 to 24 inches (46 to 61 cm) deep, and a table can take a round base 36 to 48 inches (91 to 122 cm) wide. If your space is narrower, use fewer, smaller pieces.
| Space | Base size | Layout | Power |
|---|---|---|---|
| Mantel | Stair-step tiers, 18 to 24 in (46 to 61 cm) deep | Tallest at the back | Cords hidden behind the back row |
| Console or sideboard | Central street, 12 to 16 in (30 to 41 cm) deep | Shops in the middle, houses at the ends | One plug and a power strip |
| Coffee or dining table | Round or oval base, 36 to 48 in (91 to 122 cm) wide | Build outward from one centerpiece | Holes drilled in the base for wires |
| Bookshelf | One shelf per theme, 10 to 12 in (25 to 30 cm) deep | Small houses only | Battery or USB lights |
| Under the tree | Platform around the trunk, 30 to 40 in (76 to 102 cm) across | Low pieces only, near the front | Cord run along the back |
| Window sill | Narrow strip, 6 to 8 in (15 to 20 cm) deep | Cottages and trees | Battery lights |
Only the mantel depth comes from a source, Homestyler. The other sizes are our rules of thumb, so measure your own space and trace each building base on paper before you commit. Leave at least 2 in (5 cm) between buildings so their doors and windows stay visible.
How Do You Build a Christmas Village Base?
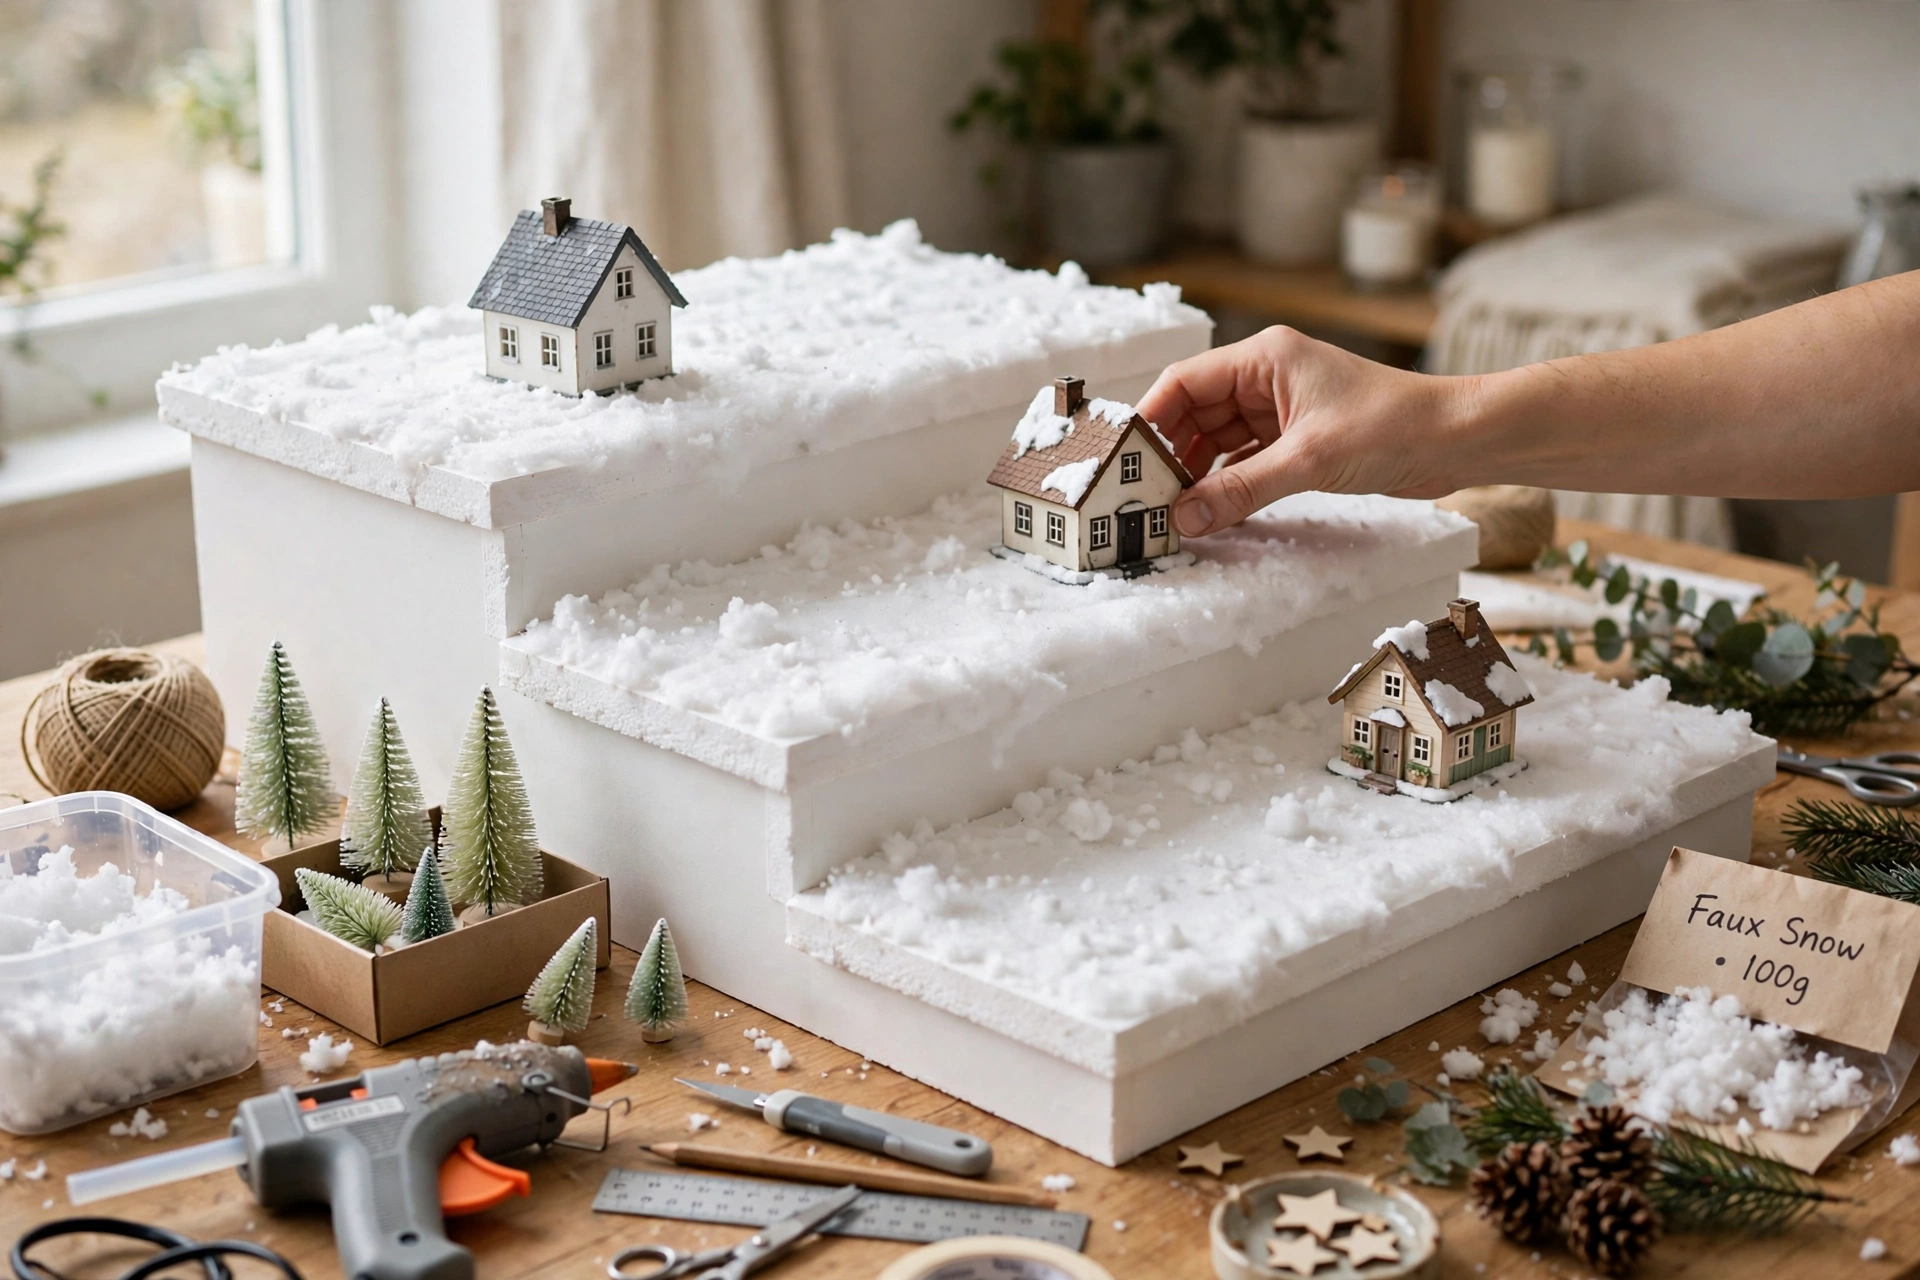
Build a sturdy base, raise the back, cover it in white cloth or snow and add a backdrop. If the village is large, use plywood and not cardboard.
Christmas Central lists styrofoam, plywood, and cardboard boxes or wood blocks for height, with white felt, a sheet, artificial snow or a snow blanket as the cover. It says to drill holes for light and animation wires before covering the base, and to hide cords under snow or the cloth. A lower table placed in front can suggest a slope.
Homestyler recommends tiers, with each step back lowered 6 to 8 in (15 to 20 cm) and the tallest roofs at the rear. It suggests raising key buildings 1 to 2 in (2.5 to 5 cm) and angling larger ones 15 to 30 degrees. Add a backdrop of painted board, cloth or an enlarged photo. Christmas Central says a mirror behind the display makes a small village look bigger.
Step by step
- Measure the space and choose a theme.
- Trace each building base on paper and arrange the templates.
- Build the base from plywood, styrofoam or boxes, and add height at the back.
- Drill holes for cords, then cover the base with white cloth or snow.
- Add a backdrop, then place the buildings with gaps between them.
- Add trees, people, lamps and ground cover, then test every light.
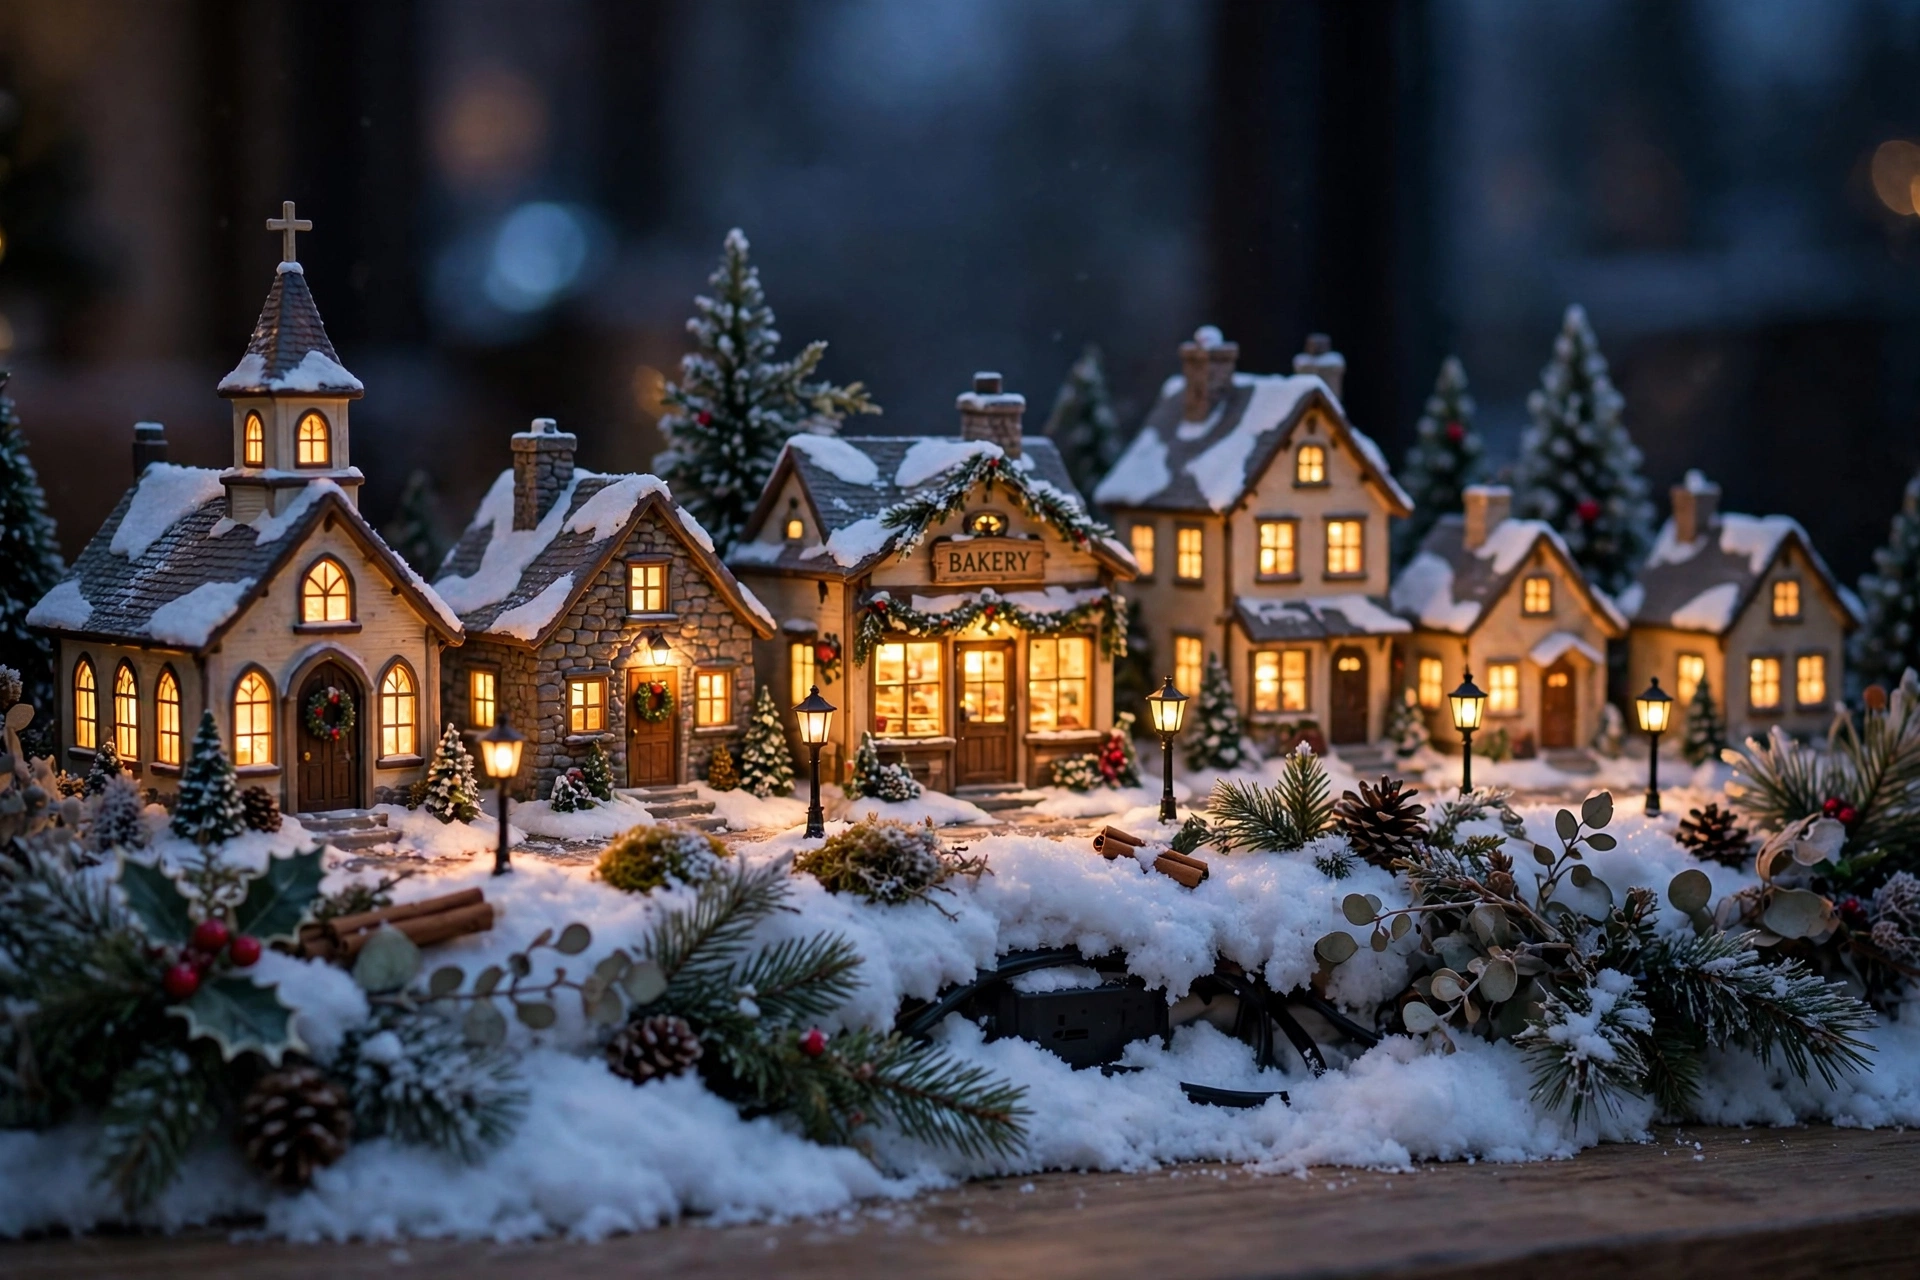
How Do You Light and Power a Christmas Village?
Use LED lights, keep one power strip near the display and hide every cord under the snow layer. If you have many lit pieces, check the total load before you plug them in.
Christmas Central recommends easy access to an outlet or surge protector, LED accessories that stay cool and string lights under the base cloth for a soft glow. Homestyler suggests low-voltage 5V systems, labeled circuits, cable clips and ventilation gaps, and keeping scented candles outside the display. The same article advises testing every light before it is fixed in place, which saves a lot of digging later.
Our own advice is to test each lit building before it goes on the base and to keep a spare bulb for each type. A dead bulb under a finished layer of snow is hard to reach.

Which Christmas Village Layout Ideas Can You Copy?
Choose the plan that matches your space, then add one or two focal points. If you are not sure, start with a single street.
1. Single main street
Line shops on both sides of one street, with the church at the end. Keep the street about 0.75 to 1 in (2 to 2.5 cm) wide per door, as Homestyler suggests for paths. It suits a console table.
2. Stair-step mantel
Build three tiers, each 6 to 8 inches (15 to 20 cm) lower than the one behind, as Homestyler advises. Put the tallest roofs at the back. Hide the cord behind the top tier, and check that the back row does not touch the wall paint if the lights run warm.
3. Circular table village
Webbs suggests building outward in a circle on a larger table. Put the centerpiece in the middle. Add streets like spokes around it.
4. Town square
Christmas Central uses a miniature tree in a town square as a focal point. Place civic buildings around it. Leave a clear space for people and animals, because a square with no open ground looks like a parking lot. A small bench and two lamps finish the scene.
5. Snowy alpine village
Use chalets, evergreens and a mountain backdrop. Christmas Central lists the alpine style as a theme. Add cotton batting for drifts.
6. Rustic farm village
Christmas Central suggests sawdust or straw near farm buildings. Add a fence with fairy lights. Keep the buildings low.
7. Village under the tree
Build a low platform around the trunk and cover it in white felt. Keep fragile figures out of reach of children and pets. Run the cord along the back.
8. Bookshelf village
Give each shelf one scene, with small houses only. Use battery lights so no cords run across the books. Leave negative space on each shelf.
9. Frozen pond center
Homestyler cuts a shallow channel for a frozen river or pond and fills it with clear resin or acrylic. A mirror piece is an easier alternative. Add skaters for motion, and keep the pond near the front so people can see the figures on the ice.
10. Window village
Place a narrow strip of cottages and trees on a wide sill. A window gives natural backlight by day. Use a mirror or frosted acrylic behind small scenes.
How Do You Add Trees, People and Ground Cover?
Group trees in odd numbers, add a few figures near focal points and use two snow textures. If the scene looks crowded, remove accessories before you remove buildings.
Homestyler suggests conifers in odd-numbered groups with varied heights, fine powder snow on roofs and slightly packed snow on paths, and a light mica dusting for sparkle. Christmas Central adds people, snowmen, benches, vehicles and tiny wreaths, small stones or fish tank gravel for country roads, and moving pieces such as skaters or a train. Homestyler advises limiting moving elements to one or two focal points.
Use one scale throughout, according to Homestyler, since pieces from different scales do not blend well. If you must mix, hide the join behind a tree or a fence.
Can You Do Christmas Village Layout Ideas on a Budget?
Yes, use boxes for height, a white sheet for snow and add pieces over time. If you are starting, buy a centerpiece first.
- Use cardboard boxes and wood blocks for height.
- Cover the base with a white sheet or felt.
- Add one new piece each year, as Webbs suggests.
- Use fish tank gravel for roads.
- Shop after Christmas for next year.
Set a limit with the home decor budget planner before you shop.
How Do You Store a Christmas Village?
Wrap each piece in tissue, keep it in its own box and store the boxes somewhere dry. If you have lit pieces, remove the batteries first.
Label each box with the building name and the shelf it belongs to, so next year’s setup is fast. Keep the cords in a labeled bag. Take a photo of the finished layout before you pack it, which helps you rebuild it later. Photograph the cord routes too, since those are the hardest part to remember a year on.
When Should You Set Up a Christmas Village?
Set it up in the week before Thanksgiving on Thursday, November 26, 2026, and take it down in early January. If the layout is large, start earlier.
Christmas Day is Friday, December 25, 2026. Count the days with the how many days until Christmas calculator. For the tree above it, see our Christmas tree guide.
Conclusion
Christmas village layout ideas work when the plan comes before the buildings. Measure the space, build a base 18 to 24 inches (46 to 61 cm) deep for a mantel or 36 to 48 inches (91 to 122 cm) wide for a table, and raise the back row. Drill holes for cords, use LED lights, keep one scale and leave gaps between buildings.
FAQs
How do you arrange a Christmas village?
Pick a location and theme, plan the layout on paper, build a base, raise buildings for height and add a backdrop. Place buildings last so their features stay visible.
How big should a Christmas village base be?
It depends on the space. A mantel needs 18 to 24 in (46 to 61 cm) of depth, and a table can take a base 36 to 48 in (91 to 122 cm) wide.
How do you hide cords in a Christmas village?
Drill holes in the base for wires before covering it, then hide cords under artificial snow or the base cloth. Use a power strip near the display.
What do you put under a Christmas village?
Use white felt, a white sheet, artificial snow or a snow blanket over a base of plywood, styrofoam or cardboard boxes. Add height with boxes or wood blocks.
Can you mix different scales in one village?
It is best not to. Use one scale throughout, because pieces from different scales look out of place side by side. Hide any mismatch behind trees.
How do you make a small Christmas village look bigger?
Add a mirror behind the display, raise the back row and keep space between buildings. A mirror makes a small village look bigger, according to Christmas Central.
Is it safe to use candles near a Christmas village?
No. Keep scented candles outside the display. Use LED lights, which stay cool, and keep all cords tidy and away from heat.
How do you store a Christmas village?
Wrap each piece in tissue, keep it in its original box and label the box. Store the set somewhere dry, and remove batteries before storing.